Blog
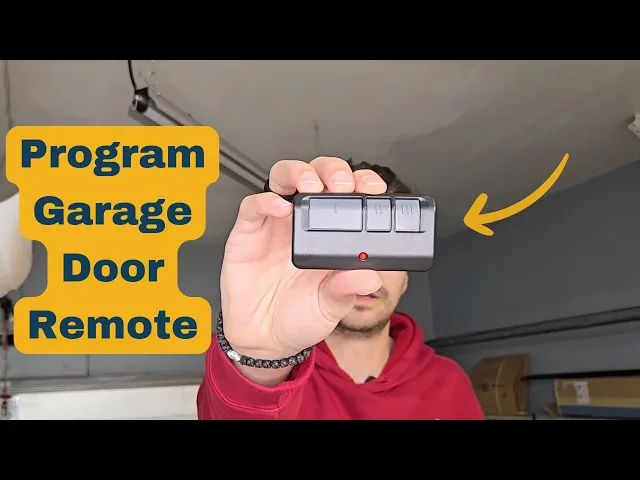
How to Program a Garage Door Opener Remote: A Complete Step-by-Step Guide
Author
Ray
Published
Category
Guide
Learn how to program a garage door opener remote step by step. This complete guide explains pairing, compatibility, troubleshooting, security, and common mistakes.


Author
Ray
An experienced automation specialist with a strong background in motor technology and industrial solutions. With years of expertise in central motors, tubular motors, and automation systems, the author is dedicated to sharing insights that connect engineering innovation with real-world applications. Passionate about advancing reliable, energy-efficient, and high-performance automation products for global markets.
What’s better than insider perks, pro tips, and surprises?
Sign up to get the most recent blog articles in your email every week.
Join now.
WHY I WRITE THIS
About my business
Our company’s main product lines include tubular motors, sliding gate motors, swing gate motors, roller shutter motors, and other door automation solutions, all manufactured by trusted partner factories we have worked with for many years.
Our Services
I help them with sales and export operations, while our company also provides sourcing and procurement services in China to help international clients solve supply-related challenges. If you need assistance with procurement, please feel free to contact us.
Introduction
A garage door opener remote is a small device, but it plays a major role in everyday convenience, access control, and home security. With one button press, you can open or close the garage door without leaving your vehicle or manually operating the system. For homeowners, property managers, and installers, knowing how to program a garage door opener remote is an essential skill.
The programming process may seem technical at first, but most modern garage door opener systems follow a similar logic. The remote sends a wireless signal to the opener, and the opener stores that signal in memory. Once paired correctly, the remote can communicate with the system reliably until it is reset, replaced, or removed from memory.
This guide explains the complete process in a clear, practical way. It covers how garage door opener remotes work, what you need before programming, the general step-by-step method, common problems, compatibility factors, and security considerations. The goal is to help you program a remote correctly and understand the system well enough to troubleshoot it later.
What Is a Garage Door Opener Remote?
A garage door opener remote is a wireless transmitter used to control a garage door opener from a distance. It usually sends a coded radio frequency signal to the opener unit mounted in the garage ceiling or on the wall. When the opener receives a valid signal, it activates the motor and moves the door.
Most remotes are designed for one or more doors. Some have a single button, while others have multiple buttons for controlling different doors or even additional devices such as gates or lighting systems. Many modern remotes also use rolling code technology, which changes the signal each time the remote is used. This helps prevent unauthorized copying or replay attacks.
The remote itself does not physically move the door. It simply triggers the opener’s control system, which then activates the motor and drive mechanism.

How Garage Door Opener Remote Programming Works
Programming a garage door remote means pairing the remote with the opener so the opener recognizes its signal. In most systems, this is done through a learn button on the opener unit. The learn button puts the opener into programming mode for a short period. During that window, the remote sends a signal, and the opener stores it in memory.
Once paired, the remote becomes an authorized control device. Some systems allow multiple remotes, keypads, and wall controls to be stored at the same time. Others have limited memory and may require deleting old devices before adding new ones.
Although the exact steps vary by brand and model, the general process is usually the same: locate the learn button, enter programming mode, press the remote button, and confirm successful pairing.
What You Need Before Programming
Before you begin, it is important to check a few basic things.
First, make sure the remote has a fresh battery. A weak battery can prevent the signal from reaching the opener during programming.
Second, identify the opener brand and model if possible. Different manufacturers use different button locations, timing windows, and signal methods.
Third, confirm that the remote is compatible with the opener. Not every remote works with every opener. Compatibility depends on frequency, technology type, and brand support.
Fourth, make sure the garage door area is safe and clear. Programming should be done when the door path is unobstructed, especially if the system may activate during setup.
Finally, keep the opener unit accessible. In many cases, you will need to press a learn or program button on the opener itself, which is usually located near the antenna wire, control panel, or light cover.
Step-by-Step: How to Program a Garage Door Opener Remote
Step 1: Locate the Learn Button
Find the learn button on the garage door opener motor unit. This button is usually located on the back, side, or near the light cover of the opener. It may be labeled “Learn,” “Program,” or something similar.
In some systems, the button may be behind a small panel or under the light lens. On wall-mounted smart openers, the programming function may also be available from the wall control interface.
Step 2: Press the Learn Button
Press the learn button once. In many systems, a small indicator light will turn on, blink, or remain steady to show that the opener is now in programming mode.
This mode usually lasts for a short time, often around 30 seconds, so you should be ready to press the remote button immediately after activating it.
Step 3: Press the Remote Button You Want to Program
Within the programming window, press and hold the button on the remote that you want to assign to the garage door opener. Hold it for a second or two, then release it. In some systems, you may need to press the button twice.
The opener should respond with a light blink, click, or door movement that confirms successful pairing.
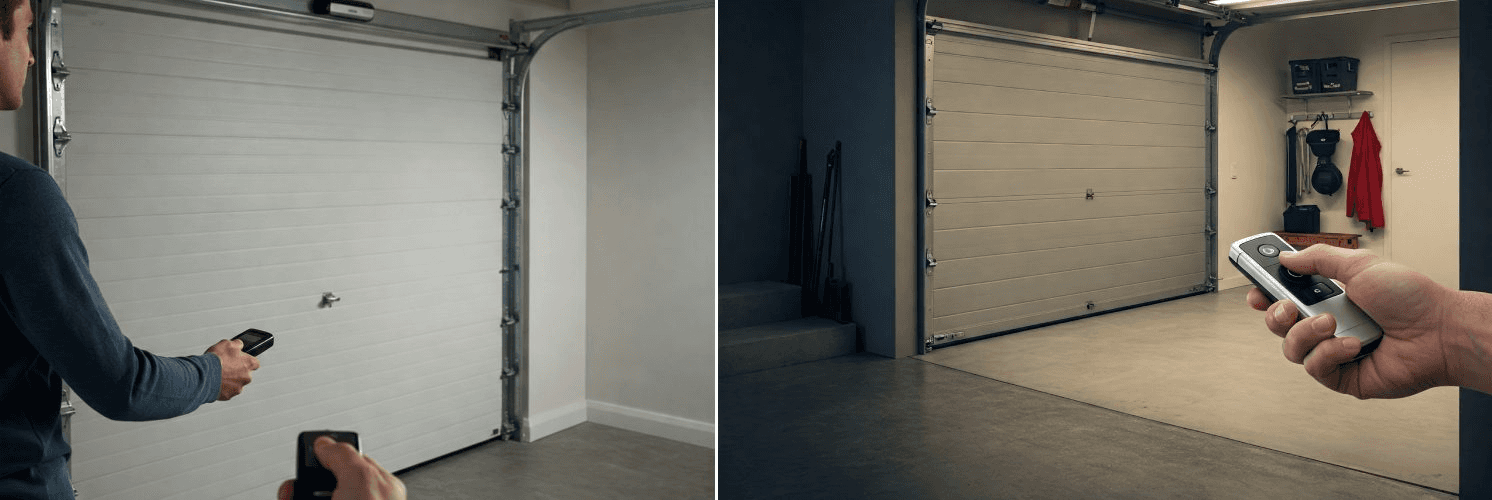
Step 4: Test the Remote
After programming, press the remote button again to test the connection. The door should move as expected. If it does not, repeat the process carefully and make sure you are within range and using the correct button.
Step 5: Program Additional Remotes if Needed
If you need to add more remotes, repeat the same process for each one. Many openers can store multiple remotes in memory, but the total number may vary by model.
How to Program Multiple Buttons on One Remote
Some garage door remotes have more than one button. This is useful if you want to control multiple doors or devices from a single transmitter.
The process is usually the same for each button. You program one button at a time by pressing the opener’s learn button, then selecting the desired button on the remote. Repeat the process for the next button if you want it linked to a different opener or function.
This is especially helpful for households with more than one garage door or for properties that use a gate and a garage opener together.
What to Do If the Remote Does Not Program
Sometimes the pairing does not work on the first attempt. When that happens, the issue is usually one of the following:
The battery is weak or installed incorrectly.
The remote is not compatible with the opener.
The learn button was not pressed correctly.
The programming window timed out before the remote button was pressed.
The opener memory is full.
There is radio interference or a hardware issue.
If the remote does not program, start by replacing the battery and trying again. Then confirm compatibility. If the opener already has many remotes stored, you may need to clear memory before adding a new one. Also check whether the opener uses an older fixed-code system or a rolling code system, because the programming method may differ.
How to Reset a Garage Door Opener Before Reprogramming
If the opener is not responding or if you are trying to remove old remotes, you may need to reset the opener memory. This usually involves pressing and holding the learn button for a longer period until the indicator light turns off or changes behavior.
Resetting clears the stored codes from memory. After that, all remotes and keypads must be programmed again. This is useful when a remote is lost, when a new owner takes over a property, or when the system has been set up incorrectly.
Because reset behavior varies by brand, always make sure you understand what is being erased before proceeding.
Garage Door Remote Compatibility: Why It Matters
Compatibility is one of the most important factors in remote programming. Even if a remote looks similar to the original device, it may not work with your opener.
Key compatibility factors include signal frequency, coding technology, brand support, and opener generation. Some older units use fixed-code systems, while many newer systems use rolling code technology. Universal remotes may support multiple brands, but they still need to match the opener’s technical requirements.
Before buying a replacement remote, check the opener model number, the remote frequency, and the manufacturer’s compatibility chart. This saves time and avoids unnecessary troubleshooting.
Common Programming Mistakes
One of the most common mistakes is waiting too long after pressing the learn button. Because the programming window is short, the remote signal must be sent quickly.
Another common mistake is pressing the wrong button on the remote, especially when the remote has multiple buttons.
A third issue is assuming all remotes are interchangeable. In reality, compatibility matters a great deal.
Other mistakes include using a weak battery, standing too far from the opener, or not clearing old memory when the system is full.
If the remote still fails after several attempts, the problem may not be with the remote at all. The opener logic board, antenna, or receiver could be damaged.
How Many Remotes Can One Garage Door Opener Support?
The number of remotes a garage door opener can support depends on the model and memory capacity. Some systems can store only a few remotes, while others can support several transmitters plus keypads and additional access devices.
If the opener stops accepting new remotes, that often means the memory limit has been reached. In that case, deleting unused devices may solve the problem.
This is one reason it is a good idea to keep track of which remotes are active in a household, office, or property management setting.
Security Considerations
Programming a garage door opener remote is not only about convenience. It is also part of access security.
If a remote is lost or stolen, it should be removed from memory as soon as possible. This prevents unauthorized access. Rolling code technology provides an additional layer of protection by changing the access signal each time the remote is used.
For properties with higher security needs, it is also wise to use separate remotes for different users, limit access to only necessary devices, and periodically review stored codes.
A garage door opener is a common entry point, so remote management should be treated seriously.
When to Replace a Remote Instead of Reprogramming
Sometimes reprogramming is not enough. If the remote is physically damaged, has a weak transmitter, or is incompatible with your opener, replacement is the better option.
Replacement is also a smart choice if the remote uses outdated technology, if the buttons no longer respond reliably, or if the battery compartment is worn out. In commercial or multi-user settings, upgrading to a modern remote can improve reliability and reduce support issues.
Final Thoughts
Learning how to program a garage door opener remote is straightforward once you understand the basic process. The key steps are simple: identify the opener, locate the learn button, enter programming mode, press the remote button, and test the connection.
What matters most is preparation and compatibility. A fresh battery, the correct remote, and a clear understanding of your opener’s system will make the process much faster and more reliable. If the remote does not work on the first attempt, the issue is usually timing, compatibility, or memory rather than the programming concept itself.
For homeowners and installers alike, mastering this process saves time, improves convenience, and keeps access control working properly.
FAQ
How do I know if my garage door opener remote is compatible?
Check the opener model, signal frequency, and manufacturer compatibility information before programming.
How long does it take to program a garage door remote?
In most cases, programming takes only a few minutes if the remote and opener are compatible.
Can I program more than one remote to the same opener?
Yes. Most garage door openers can store multiple remotes, although the exact limit depends on the model.
Why is my garage door remote not programming?
Common reasons include a weak battery, incorrect timing, memory limits, or incompatibility.
Do I need to reset the opener before adding a new remote?
Not always. Resetting is only necessary if you want to clear old codes or fix a memory issue.
Other Blogs