Blog
Garage Door Opener Installation Guide: Everything Homeowners Need to Know
Author
Ray
Published
Category
Design & Inspiration
Learn how to install a garage door opener with this complete guide. Discover opener types, installation steps, costs, safety tips, and maintenance advice for homeowners.

Author
Ray
An experienced automation specialist with a strong background in motor technology and industrial solutions. With years of expertise in central motors, tubular motors, and automation systems, the author is dedicated to sharing insights that connect engineering innovation with real-world applications. Passionate about advancing reliable, energy-efficient, and high-performance automation products for global markets.
What’s better than insider perks, pro tips, and surprises?
Sign up to get the most recent blog articles in your email every week.
Join now.
WHY I WRITE THIS
About my business
Our company’s main product lines include tubular motors, sliding gate motors, swing gate motors, roller shutter motors, and other door automation solutions, all manufactured by trusted partner factories we have worked with for many years.
Our Services
I help them with sales and export operations, while our company also provides sourcing and procurement services in China to help international clients solve supply-related challenges. If you need assistance with procurement, please feel free to contact us.
Installing a garage door opener is one of the most practical upgrades homeowners can make. A reliable opener improves daily convenience, enhances garage security, and allows you to operate your garage door smoothly with a remote, keypad, or smartphone.
However, garage door opener installation is not simply about mounting a motor unit on the ceiling. A successful installation requires choosing the right opener, preparing the garage properly, installing safety components correctly, and testing the system carefully.
This guide explains everything homeowners need to know before installing a garage door opener, including opener types, installation steps, common mistakes, costs, and maintenance tips.
What Is a Garage Door Opener and How Does It Work?
A garage door opener is a motorized device that automatically opens and closes a garage door. It works by using an electric motor connected to a drive system that moves a trolley along a rail or directly controls the door mechanism.
Most modern garage door openers include:
Motor unit
Drive rail system
Trolley and carriage
Wall control panel
Remote controls
Safety sensors
Emergency release mechanism
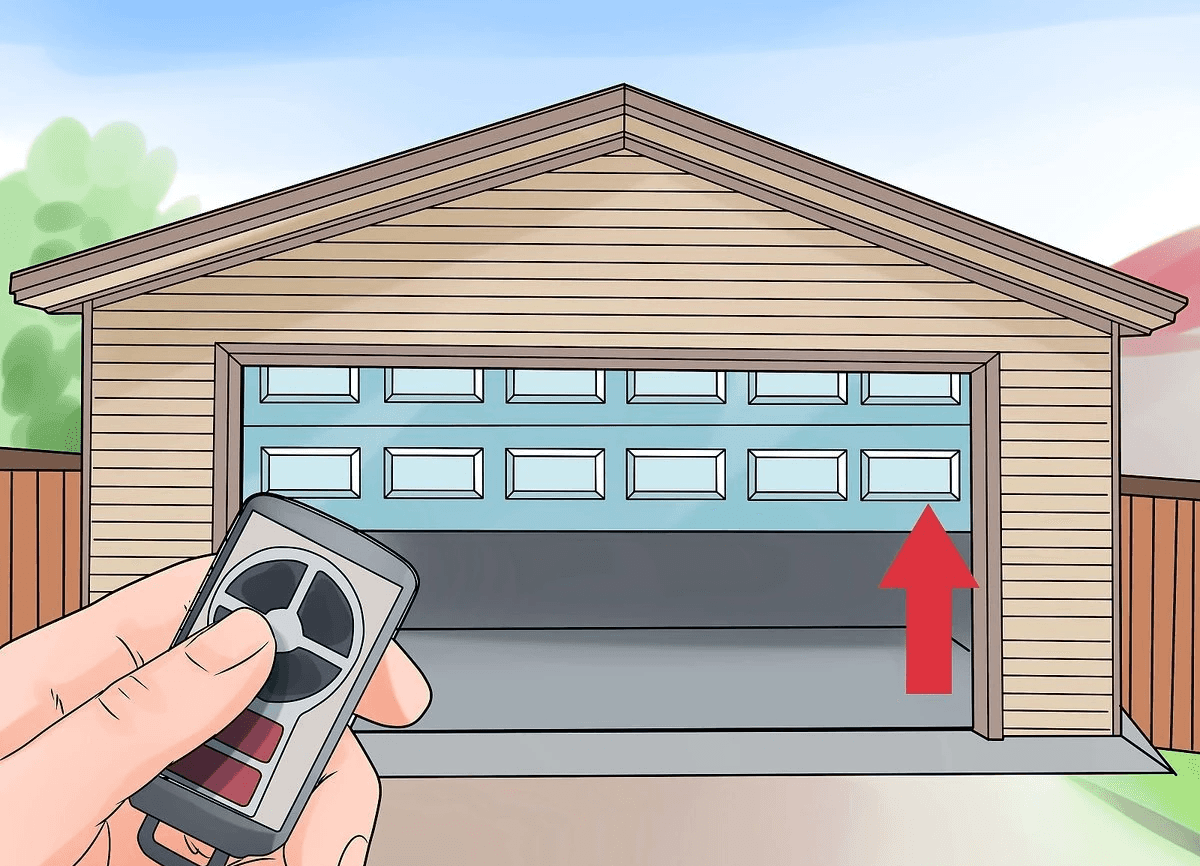
When you press the remote or wall button, the motor activates and moves the trolley, which lifts or lowers the garage door. Safety sensors near the bottom of the garage door opening detect obstacles and prevent the door from closing when something is blocking the path.
Types of Garage Door Openers
Before installation, homeowners should choose the right type of opener based on garage size, noise requirements, budget, and usage frequency.
Chain Drive Garage Door Opener
Chain drive openers use a metal chain to move the trolley along the rail.
Advantages:
Strong lifting power
Suitable for heavy garage doors
Affordable price
Long-lasting performance
Disadvantages:
Produces more operating noise
Requires occasional lubrication and maintenance
Chain drive models are often selected for detached garages or situations where noise is not a major concern.
Belt Drive Garage Door Opener
Belt drive openers use a reinforced rubber belt instead of a metal chain.
Advantages:
Very quiet operation
Smooth movement
Less vibration
Ideal for attached garages near bedrooms
Disadvantages:
Higher purchase cost compared with chain drive models
For most residential homes, belt drive openers are popular because they provide quieter operation and better comfort.
Screw Drive Garage Door Opener
Screw drive openers use a threaded steel rod to move the door.
Advantages:
Fewer moving parts
Simple design
Reliable operation
Disadvantages:
Can be affected by extreme temperatures
May require more maintenance in some climates
Wall-Mounted Garage Door Opener
Wall-mounted openers attach beside the garage door instead of using a ceiling-mounted rail.
Advantages:
Saves ceiling space
Cleaner garage appearance
Allows additional overhead storage
Disadvantages:
Usually costs more
Requires compatible garage door systems
Things to Check Before Installing a Garage Door Opener
Before installation, make sure your garage door itself is working correctly.
A garage door opener is designed to move a balanced door. It cannot fix problems such as damaged springs, broken cables, or misaligned tracks.
Check the following:
Inspect Garage Door Balance
Disconnect the existing opener and manually lift the garage door halfway.
A properly balanced door should stay in position without falling or rising.
If the door moves by itself, the spring system may require adjustment.
Check Door Movement
The garage door should:
Move smoothly along the tracks
Open without excessive force
Close evenly
Have properly working rollers and hinges
Measure Garage Space
Confirm:
Ceiling height
Available mounting area
Door size
Power outlet location
Most standard garage door openers require enough ceiling clearance for the rail and motor unit.
Tools Needed for Garage Door Opener Installation
Typical installation requires:
Ladder
Drill
Socket wrench set
Screwdrivers
Tape measure
Level
Pliers
Adjustable wrench
Safety glasses
Having the correct tools helps prevent installation delays and ensures proper alignment.
Step-by-Step Garage Door Opener Installation Process
Although installation procedures vary by manufacturer, most garage door opener installations follow similar steps.
Step 1: Remove the Old Garage Door Opener
If replacing an existing opener:
Disconnect electrical power
Remove the old motor unit
Remove mounting brackets if necessary
Inspect existing hardware
Do not reuse damaged brackets or worn components.
Step 2: Assemble the Opener Rail System
The rail connects the motor unit to the garage door.
During assembly:
Connect rail sections
Install trolley system
Attach belt or chain drive
Secure all fasteners
Make sure every connection is tight before mounting.
Step 3: Install the Header Bracket
The header bracket supports the front section of the rail above the garage door.
Proper placement is important because incorrect positioning can affect door movement.
The bracket should be:
Centered above the garage door
Securely attached to structural support
Level with the rail system
Step 4: Mount the Motor Unit
The motor unit is usually installed on the garage ceiling.
During mounting:
Position the motor correctly
Secure mounting brackets
Ensure the rail remains straight
Check alignment carefully
A poorly aligned opener can create noise, vibration, and premature wear.
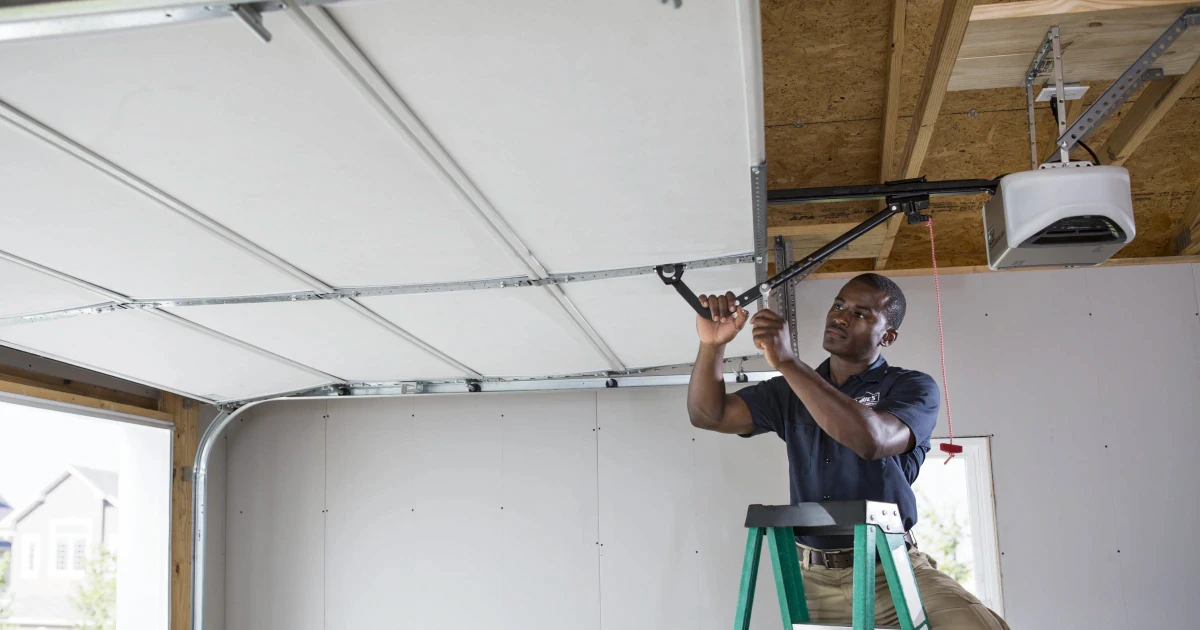
Step 5: Connect the Garage Door Arm
The door arm connects the trolley to the garage door.
Correct adjustment ensures:
Smooth opening
Complete closing
Proper force distribution
Avoid adjusting the arm too tightly because this can put unnecessary stress on the opener.
Step 6: Install Safety Sensors
Safety sensors are one of the most important parts of the installation.
They should be installed:
On both sides of the garage door opening
Facing each other directly
At the correct height
Properly aligned
If sensors are misaligned, the opener may refuse to close the door.
Step 7: Program the Remote and Controls
After installation:
Connect wall control
Program remote transmitters
Connect smartphone applications if available
Set travel limits
Adjust opening and closing force
Many modern smart garage door openers can connect to mobile apps, allowing homeowners to monitor and control the door remotely.
DIY Installation vs Professional Installation
Many homeowners consider installing a garage door opener themselves. DIY installation can save money, but it requires mechanical skills, electrical awareness, and careful adjustment.
DIY Installation May Be Suitable If:
You have experience with home improvement projects
You understand basic electrical safety
You have proper tools
You can follow manufacturer instructions carefully
Professional Installation Is Recommended If:
The garage door is heavy
Springs or cables need repair
Structural modifications are required
You are replacing an older system
You want warranty protection
Professional installation also helps ensure safety sensors, force settings, and travel limits are correctly adjusted.
How Much Does Garage Door Opener Installation Cost?
The total installation cost depends on:
Opener type
Motor power
Smart features
Garage door size
Labor costs
Existing hardware condition
Typical costs include:
Garage Door Opener Unit
Prices vary depending on:
Brand
Drive system
Horsepower
Smart features
Installation Labor
Professional installation may add additional costs depending on location and complexity. Some retailers offer installation services that include setup and removal of old equipment.
Common Garage Door Opener Installation Mistakes
Avoid these common problems:
Installing on an Unbalanced Garage Door
A faulty garage door can overload the opener motor.
Incorrect Sensor Alignment
Misaligned safety sensors are one of the most common reasons an opener does not work properly.
Using Weak Mounting Points
The opener must be attached to strong structural support, not just drywall or thin materials.
Incorrect Travel Limit Adjustment
Wrong settings can cause:
Door not closing fully
Door reversing unexpectedly
Excessive motor stress
Ignoring Maintenance After Installation
Even a high-quality opener requires regular maintenance.
Garage Door Opener Maintenance Tips
To keep your opener working reliably:
Lubricate Moving Parts
Regularly lubricate:
Hinges
Rollers
Chains
Drive components
Test Safety Features
Check that:
Safety sensors work correctly
Reverse function operates properly
Emergency release works
Inspect Hardware
Look for:
Loose bolts
Worn rollers
Damaged cables
Unusual noises
Frequently Asked Questions About Garage Door Opener Installation
How long does it take to install a garage door opener?
A typical garage door opener installation usually takes between two and six hours, depending on the type of opener, the condition of the existing garage door system, and the complexity of the installation. Replacing an old opener is usually faster because some mounting hardware and wiring may already be available. A completely new installation may require additional time for installing brackets, adjusting the door travel limits, aligning safety sensors, and testing the system.
Can I install a garage door opener myself?
Many homeowners with basic DIY experience can install a garage door opener by carefully following the manufacturer’s instructions. However, professional installation may be a better choice if the garage door is heavy, the springs or cables require adjustment, the ceiling structure needs reinforcement, or electrical work is involved. A garage door system contains high-tension components, and incorrect installation can affect safety and the long-term performance of the opener.
How much does garage door opener installation cost?
The cost of garage door opener installation depends on several factors, including the type of opener, motor power, additional smart features, installation difficulty, and local labor rates. Basic chain-drive openers are usually more affordable, while belt-drive and smart garage door openers with Wi-Fi connectivity, battery backup, or camera systems generally cost more. Homeowners should consider both the initial purchase price and long-term reliability when choosing an opener.
What size garage door opener do I need?
The correct garage door opener size depends on the weight, size, and frequency of use of your garage door. Most standard residential garage doors can operate with a 1/2 horsepower opener, while heavier doors or frequently used garage doors may require a more powerful 3/4 horsepower or 1 horsepower model. Choosing an opener with insufficient power may reduce performance and cause unnecessary stress on the motor.
Why is my garage door opener making noise after installation?
A newly installed garage door opener may make unusual noises if the rail is not properly aligned, mounting hardware is loose, the drive system needs adjustment, or the garage door itself is not balanced correctly. Chain-drive openers naturally produce more operating noise compared with belt-drive models. Regular inspection and proper lubrication of moving parts can help reduce noise and improve the overall performance of the system.
Do I need to replace my garage door when installing a new opener?
In most cases, a new garage door is not required when installing a new opener. A properly functioning garage door can usually work with a replacement opener as long as it is balanced, moves smoothly, and has no major issues with springs, tracks, rollers, or cables. Before installing a new opener, homeowners should check the condition of the existing garage door system to ensure it can safely support the new equipment.
Why does my garage door opener not work after installation?
A garage door opener may fail to operate correctly after installation because of incorrect wiring, improper remote programming, misaligned safety sensors, incorrect travel limit settings, or power supply problems. In many cases, checking the sensor alignment and reviewing the installation instructions can solve the issue. If the opener still does not operate correctly, professional inspection may be necessary to identify installation errors.
Why won’t my garage door close after installing a new opener?
If a garage door will not close after installing a new opener, the most common cause is a problem with the safety sensors. The sensors must be positioned correctly and aligned with each other to allow the door to close. Other possible causes include incorrect force settings, blocked sensor lenses, damaged tracks, or incorrect travel limit adjustments.
How often should a garage door opener be maintained?
A garage door opener should be inspected and maintained regularly to ensure safe and reliable operation. Homeowners should check the safety sensors, test the automatic reverse function, inspect hardware connections, and keep moving components properly lubricated. Regular maintenance helps prevent unexpected failures and can extend the working life of the opener.
Final Thoughts
A garage door opener installation is an excellent home improvement project that improves convenience, security, and everyday comfort. Choosing the right opener type, preparing the garage correctly, and following proper installation steps are essential for long-term performance.
Whether you choose a DIY approach or professional installation, understanding the installation process helps you make better decisions and avoid costly mistakes.
A properly installed garage door opener should provide smooth, quiet, and reliable operation for many years.
Other Blogs


